Setup Hide My WP Ghost on Nginx Server
March 24, 2017
Please follow this tutorial step by step to set up the Hide My WP Ghost for Nginx server:
- In your WordPress dashboard, go to Hide My WP > Change Paths
- Select the Safe Mode or Ghost Mode, scroll down and customize the paths as you like
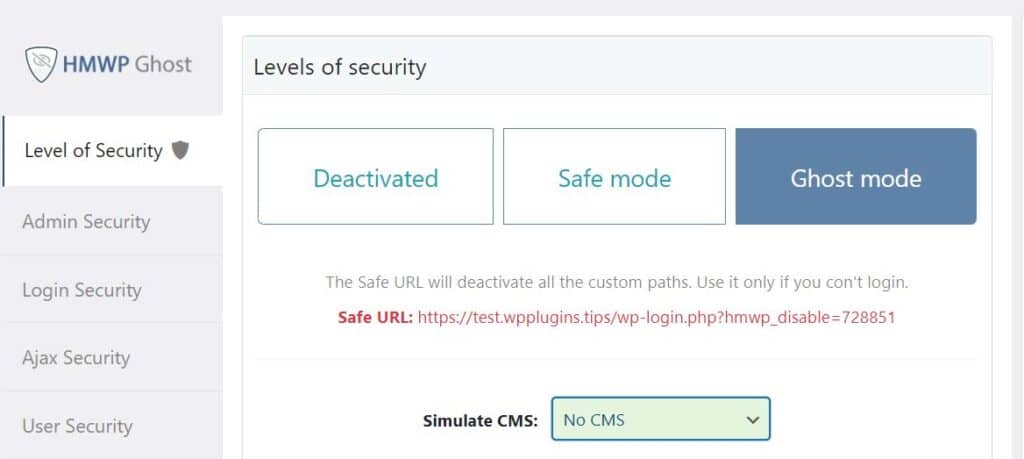
- Click the Save button to save the changes.
- You will see a message to include the configuration file into nginx.conf file.
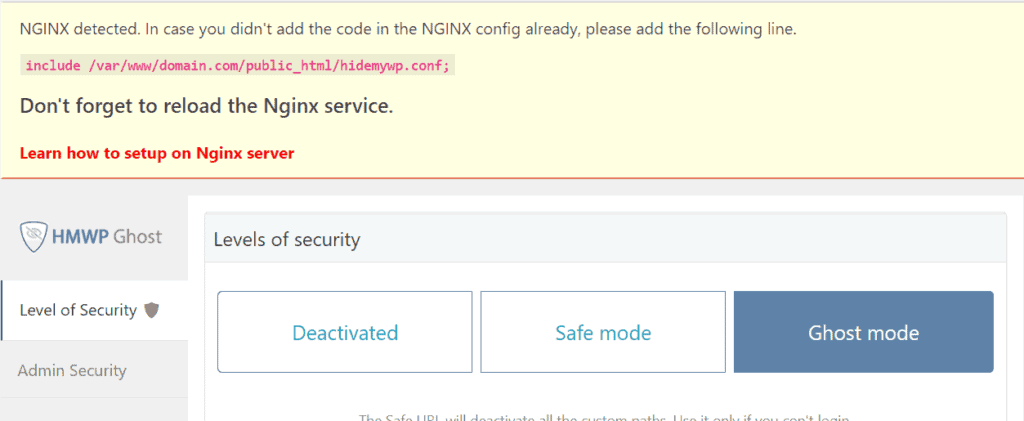
If your server is a Linux server, the main path to the nginx.conf file is /etc/nginx/nginx.conf (or /etc/nginx/conf/nginx.conf if you’re using Arch Linux). If the server is a Windows server your nginx.conf file will be located at C:/nginx/conf/nginx.conf)
If your nginx doesn’t have sites-enabled option activated (check for sites-enabled subdirectory in the same directory with nginx.conf file), you will find the server configuration in nginx.conf file like in the below example:
server {
        server_name [your domain name];
        root [path to the website root];
        index index.php;

        location / {
                try_files $uri $uri/ /index.php?$args;
        }

}
What you have to do is to add the code before location / {“try_files $uri $uri/ /index.php?$args;”} line. See the below example:
server {
        server_name [your domain name];
        root [path to the website root];
        index index.php;
        include path-to-file/hidemywp.conf;

        location / {
                try_files $uri $uri/ /index.php?$args;
        }

}
If you nginx has the sites-enabled option activated you have to enter in the sites-enabled subdirectory and open the file with the domain name. In that file you will find the above configuration.
Note: Don’t delete any line from your current configuration unless you know what you are doing.
5. After you add the lines in your conf file, save it and go back to your Hide My Wp Ghost settings and press the “Okay, I set it up” button.
6. Note: You need to reload the Nginx config to apply the changes.
For Linux use:
 # sudo nginx -s reload

 For Windows use:
 # cd C:nginx
 # nginx -s reload
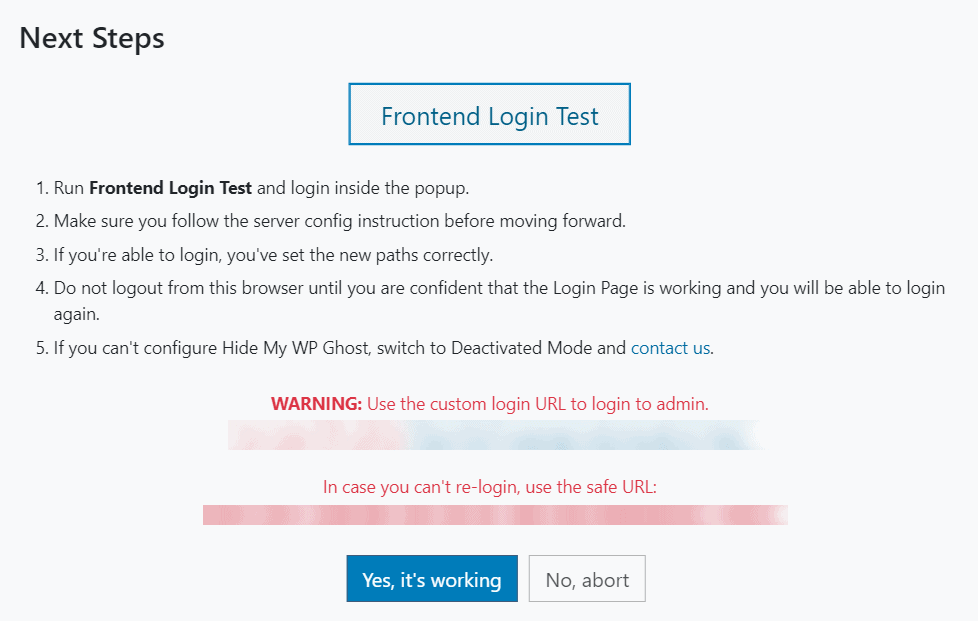
7. Check the Frontend Login page and make sure the paths are correct. If everything loads fine, click “Yes, it’s working” button. Otherwise click on “No, abort” to roll back to previous settings.
See Also: How To Configure Hide My Wp Ghost On Nginx Web Server With Virtual Private Server